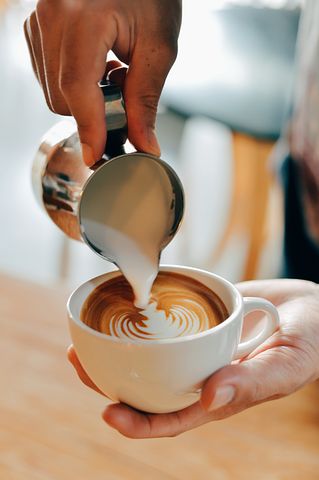
If you want drinking coffee to be an experience rather than just something that you drink to wake you up in the morning then learning how to froth milk will enhance your enjoyment and take you to another level in your coffee journey.
The actual process of heating your milk to the correct temperature and producing the correct amount of creamy, foamy froth is very important but before you can do any of that you need to, first of all, have the correct equipment.
What do you need to froth milk properly?
Don’t just grab any old jug from the cupboard because it’s most likely that is not fit for purpose.
Get yourself a nice stainless steel milk frothing jug that has been made to heat milk and pour it without dripping and so that you can create some latte art if desired.
First and foremost you do not need to be spending anything more than around £12 maximum for a milk frothing jug. Essentially there are only 3 different types that you need to consider.
The first is your bog-standard stainless steel jug. It’s a jug, Its stainless steel and its got a non-drip spout. This will set you back around a fiver and it will do the job perfectly well. There are hundreds of different types and lots of them are overpriced. We have looked at most of them and this milk frothing jug does exactly what it is supposed to at a very affordable and reasonable price.
Once you have created a lovely froth on your milk it can need some assistance to get it out of the jug and into your glass so for a few pounds more you can add a stainless steel scoop which doubles up as a latte art pen so the second jug to consider is this milk frothing jug with latte art pen. Once you have mastered the art of making a great espresso you can turn it into a cappuccino or latte and top it off with a picture of a flower with this additional accessory.
Finally, and the one that we would recommend from the outset is to get a jug that has a built-in thermometer on the side of the jug. If you are going to create the perfect cappuccino or latte then you need to heat the milk to 65 degrees which is pretty hot. With the other two jugs you will need to do that by feel which is ok but most of the time you will not heat the milk up hot enough because 65 degrees is hotter than is comfortable to the hand so you will either stop too soon and the milk will not be hot enough or you will go on too long and risk the milk burning which will totally ruin your coffee.
Considering that any jug you buy will last you for a good few years or more than buying one with a built-in thermometer is the most sensible way to go and this milk frothing jug with integrated thermometer will do the job and represents excellent value for money.
You can buy a thermometer separately for a few pounds but you have to faff about and hold the thermometer in the milk whilst you are heating it which is cumbersome and not worth it. We switched to using a jug with integrated thermometer years ago.
Once you have chosen the right milk frothing jug the most important part comes next.
What is the best milk to froth with?
There are so many different types of milk to choose from and some of them are not even milk! Well, it depends on your view. Traditionally milk is dairy and of course comes from cows.
Nowadays you can have plant-based milk such as almond, rice, soy, coconut and more. If you are lactose intolerant then you can use say almond milk for a cappuccino or latte and it will froth reasonably well but it won’t taste as good as cow’s milk.
Stick to cow’s milk for milk-based espresso drinks for the best flavour to compliment the coffee.
You then have 3 choices. Full fat milk, semi-skimmed and skimmed. The bottom line is that semi-skimmed and skimmed milk are just watered-down versions of full-fat milk.
If you want to actually taste and enjoy your coffee then we would recommend against using skimmed milk as all of the flavour is removed and semi-skimmed milk isn’t that much better.
Coffee shops use full-fat milk for their milk-based coffee drinks because it compliments espresso perfectly and that is the type of milk that we would recommend every time.
If you are concerned about your amount of fat intake then bear in mind that you will only be adding around 60ml of milk to a cappuccino and if you drink 2 of those a day that should fit into the category of “it’s ok in moderation”.
What are the different methods to froth milk?
There are 3 realistic ways that you can froth up your milk ready to be added to a double espresso to create a beverage to titillate your senses and deliver a wonderful sensory experience to your day.
The first is a manual frother where you basically move a plunger up and down inside a cylindrical device that looks like a cafetiere or french press. We do not recommend this method because it doesn’t produce the best results but most importantly you have to heat the milk up first in a pan or the microwave and you’ll probably get the temperature all wrong and it’s just too much hassle all round.
The second option is more viable and can deliver some good results if you choose the right product. An electric milk frother is the second best option to get your cappuccino or latte with the minimum of fuss.
There are lots of different choices when it comes to an electric milk frother with the most important consideration being the volume of milk that they will hold, heat and froth and most importantly the temperature that they will heat the milk up to.
You can’t select the temperature yourself so make sure you buy one that gets that right or you will be wasting your money.
We have reviewed lots of electric milk frothers and there are a couple that deliver the goods.
At the budget end of the market, the Chinya milk frother will heat your milk up to 65 degrees and has a good non-drip spout that rotates 360 degrees on its base for easy use.
For a branded option you can consider the Dualit milk frother that holds a larger volume of milk and based on Dualits reputation will give you a number of years of frothing joy.
But when you go to any coffee shop you will see them heating the milk themselves in a milk pitcher just before adding it to the coffee to create your drink of choice and they do this for a reason. It’s the only way to get it just right.
How to froth milk with a steam wand
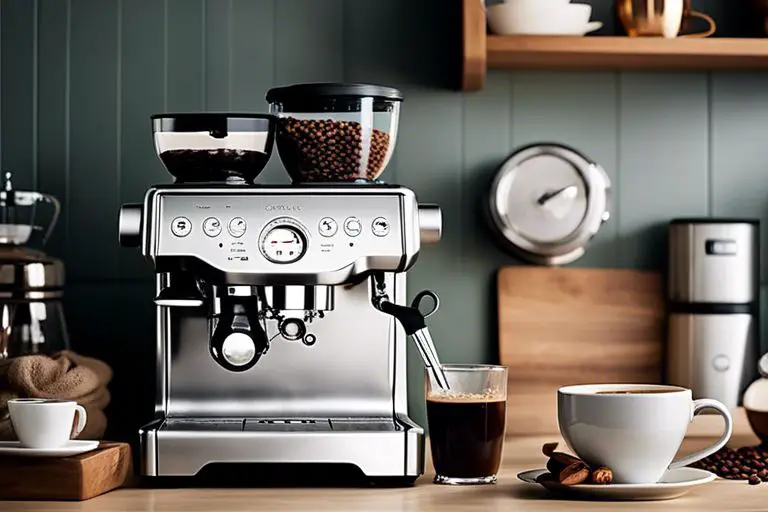
Steam wands come attached to coffee machines so if you don’t already have one of those then you can have a look at the best espresso machines for your money.
If you already have an espresso machine with a steam wand then it is as much about eliminating the most common mistakes as it is about doing the right things.
Before you even put the steam wand into the milk make sure it is “purged”. If you put the wand into the milk before the temperature is hot enough then it will add water into the milk before steam comes out.
Milk is mostly water anyway so you want to avoid adding any unnecessary additional water. Make sure there is a good burst of steam coming out, quickly shut it off, put it in the milk and turn it on again within a few seconds and you are ready to go.
Don’t put the tip of the steam wand too low towards the bottom of the jug. You will know if it is too low because it will make a screeching noise that will be so annoying that you will want it to stop so move the jug down a bit until you hear a nice smooth whirling noise.
By doing this you will be adding air into the milk and creating the nice creamy, latex looking texture that is perfect for adding to espresso.
You can specifically control the amount of froth that you get by keeping the tip of the steam wand just below the surface of the milk and by bringing it just above the surface will create lots of air being added to the milk which creates the froth. This does take a little bit of practice so be prepared to splash yourself with some flying milk when you pull the wand too far above the surface.
Keep the wand steady in the jug. It is a common mistake to “swirl” the jug around but it’s just not necessary. Keep it in the middle of the jug and just below the surface for the perfect texture.
The last and very important part is to keep an eye on the temperature. If you have a temperature gauge built into the jug then its easy. 65 degrees is perfect but don’t go above 70 because at 75 degrees the milk will start to burn and your drink will be ruined.
If you follow these guidelines with a bit of personal tweaking you will have the most wonderful frothy, creamy, smooth, perfectly heated steamed milk ready to be added straight into a double espresso.
Methods of frothing milk
DIY Method
If you don’t want to buy a milk frother, there are actually ways you can create frothed milk by using household items you probably already own.
All you need is a jar with a lid that fits tightly (to avoid any leakage) and some milk (and a little man-power).
Simply pour the milk into a jar, about ¾ full, and place the lid on tightly. Then, shake vigorously for at least 1 minute for a latte consistency. You’ll need to shake it for at least three minutes to get it frothy enough for a cappuccino.
Once you’re happy with the froth level, heat it up in the microwave for about a minute.
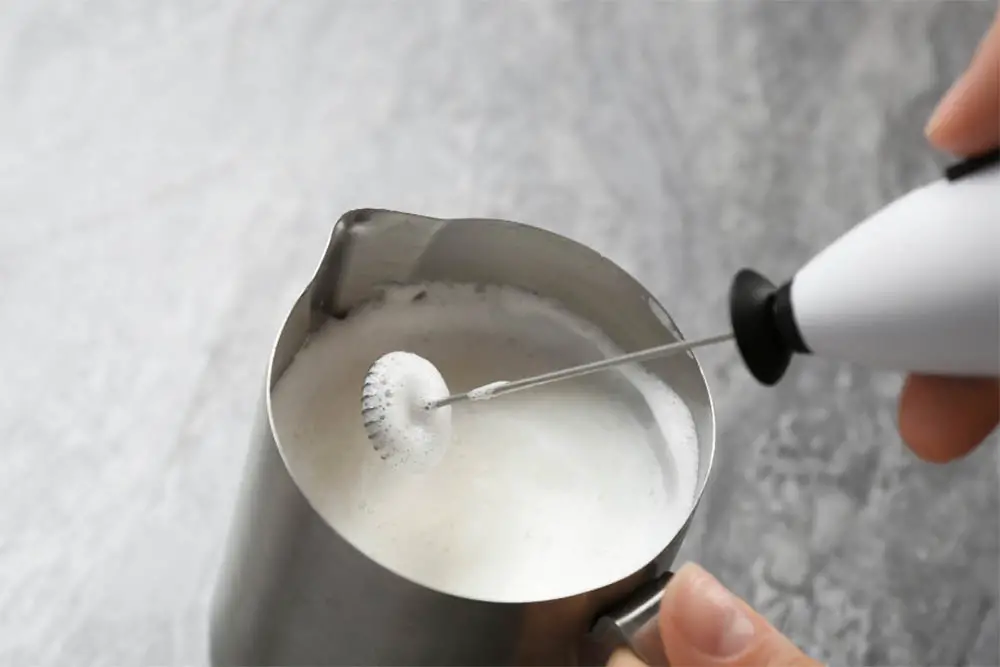
Handheld method
Simply shaking milk in a jar will only get you so far. If you want to take things one step further, you can invest a few pounds in a handheld whisk frother.
These devices are super cheap and available in most supermarkets, and they work really well. They’re also very easy to clean and store because they are so compact.
All you need to do is place the whisk end of the wand into your cup of milk, about ¾ of the way in and turn it on and let the whisk do all the work! The longer you whisk, the frothier the milk will be – easy!
Manual method
This method uses a hand pump to add air to the milk. The mesh materials attached to the pump that the air flows through.
This method could also be done without even spending a penny if you already own a cafetière. Simply pour your milk in and plunge it up and down until you’re happy with the consistency.
Then, heat it up in the microwave for about a minute. Either pour it into a microwave safe glass first or if your cafetière is microwave safe simply leave it and heat!
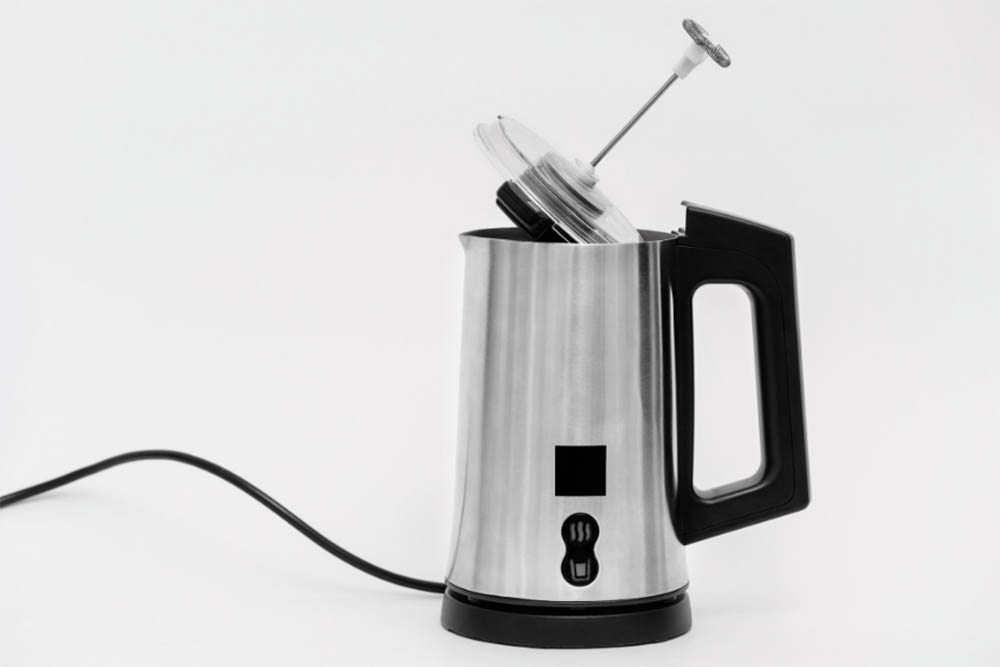
Electric/Automatic method
This is perhaps the easiest and most effective way to froth milk at home. These devices will typically cost more than the others listed in this article, but it’s worth it for the convenience of being able to turn it on and walk away.
This method also often includes a heating feature for added convenience. This works similarly to kettles.
These will either just offer one set temperature or some even feature up to five temperatures to choose from, which is great if you have small children that would appreciate a cooler hot chocolate.
Or, it’s equally useful for adults that prefer their hot drinks piping hot, especially if you plan on taking it in the car to work with you, your beverage will stay hotter and frothier for longer.
These machines create a froth using an internal whisk propeller that rotates at a high speed, forcing air through the milk. These machines will also have settings that control how frothy it makes the milk, which is also very handy.
What should the temperature be for frothing milk?
As I’ve explained, manual and handheld methods of frothing milk won’t be able to heat the milk, this is something that you will have to do externally using a microwave.
If using a microwave to heat frothed milk it is recommended that a good place to start is heating it for one minute and stirring it then checking the temperature.
If you want it hotter, you can always put it on for longer. Just remember to exercise caution when testing hot liquids.
If you’re using an automatic device or a steam wand to froth your milk, the best temperature would be between 60 and 70 degrees for a nice hot coffee. Anything much hotter than this and the milk could start to burn, which would be both messy and not very nice to drink.
Which frothing method works best?
Which method will work best for you depends on a number of factors.
The biggest factor is budget. A low budget will only get you so far, your best option would be to opt for a handheld or manual frother. The results are pretty good and well worth the money.
The main downside with this option of course is that you would need to remain in contact with the device while it works, which can be time-consuming.
If you’re willing to invest a little more money into your milk frother, you could opt for an automatic/ eclectic device that will enable you to simply pour the milk in, press start and carry on with the rest of your tasks which is super handy.
If you want a frother that will heat your milk at the same time, you’ll need to invest in at least an automatic frother.